Re: Crofter985'S KLX650C supermoto build
Posted: Wed Sep 09, 2015 12:49 pm
My goals with this project have changed a bit as I go along, I originally just wanted to strap a turbo on, screw up the boost, ride it till it melted. Well perhaps it's because it's taken me a lot longer to get where I'm at now (with a bit to do yet) that I'm a bit more interested in this bike being a regular ride bike, maybe not a over to the shop for a pint of milk bike, but if you did, it perhaps wouldn't need a rebuild after. Also since I was a teenager I have harboured ideas of some kind of bike or car build, I have had lots of ideas on turbos and general performance upgrading.
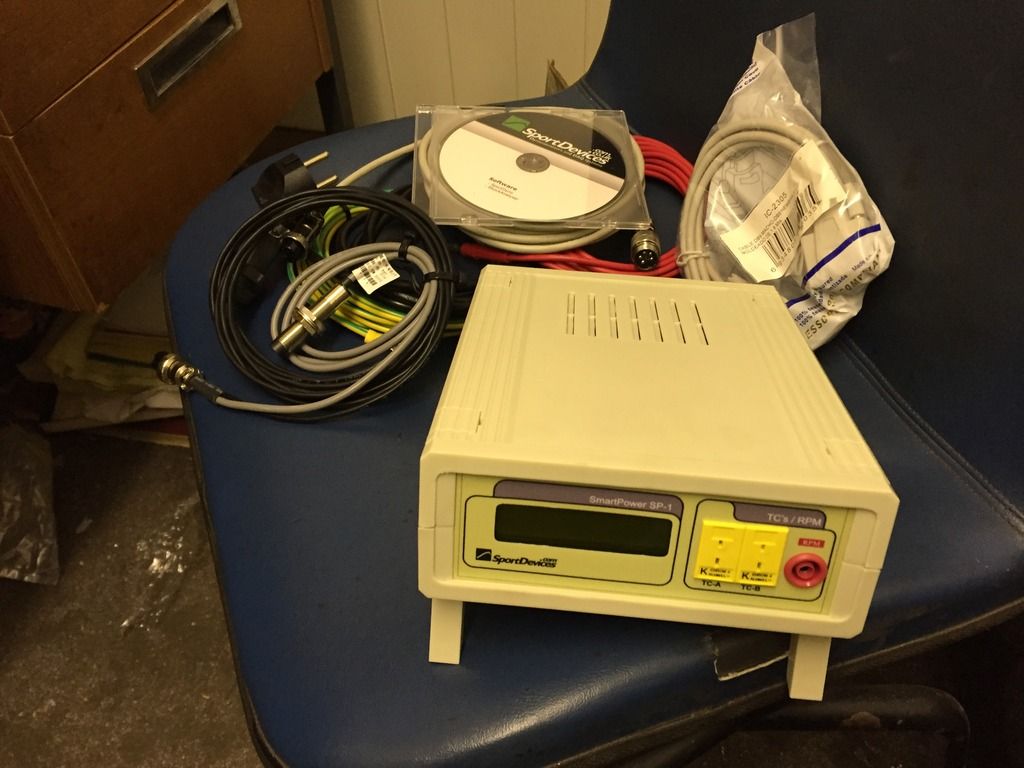
I have probably mentioned before but I'm building a dyno alongside this project and to make most use of this and to answer many of my questions on, "how and why", I am going to build the bike up in stages. That's one reason why the turbo is not fitted to the bike just now. My intention is to run the bike on the dyno first N/A with then go from there. It's got the stock cams in and is otherwise stock apart from the wossner piston, which should be stock compression ratio although I did not measure it.
So for one of the future dyno runs I am preparing a cylinder head.
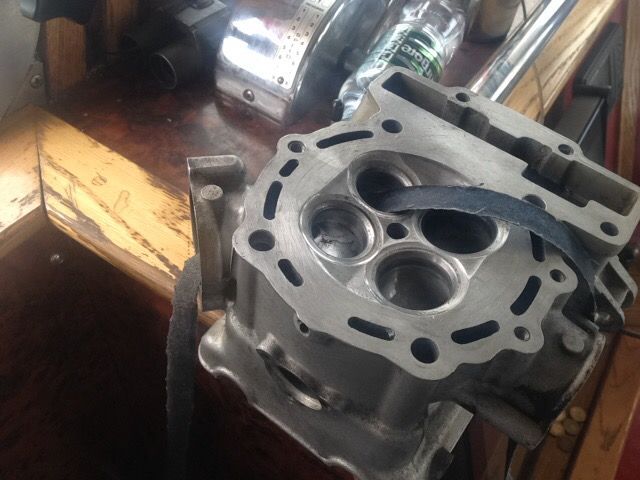
I have 3 spare cylinder heads but this one was the best for this mod, it's cam journals are good but the exhaust valve seats are well worn. It's really difficult to guess how this could have run in this condition but, ?, it must have. The plan here is to get the head fitted with 1mm oversize exhaust valves, the seats will be re cut to accept the valves by the import company for the valves who specialise in this. The valves are on order from a company called Manley, they will be of some kind of stainless steel made to handle high heat.
So I started by pressing out the valve guides, the exhaust guides were in poor condition, a bit crumbled at the end so there will be new ones fitted there and the inlet guides can go back in they were ok.
Then I went in with a knife and started scraping carbon out of the exhaust, then the emery tape after.
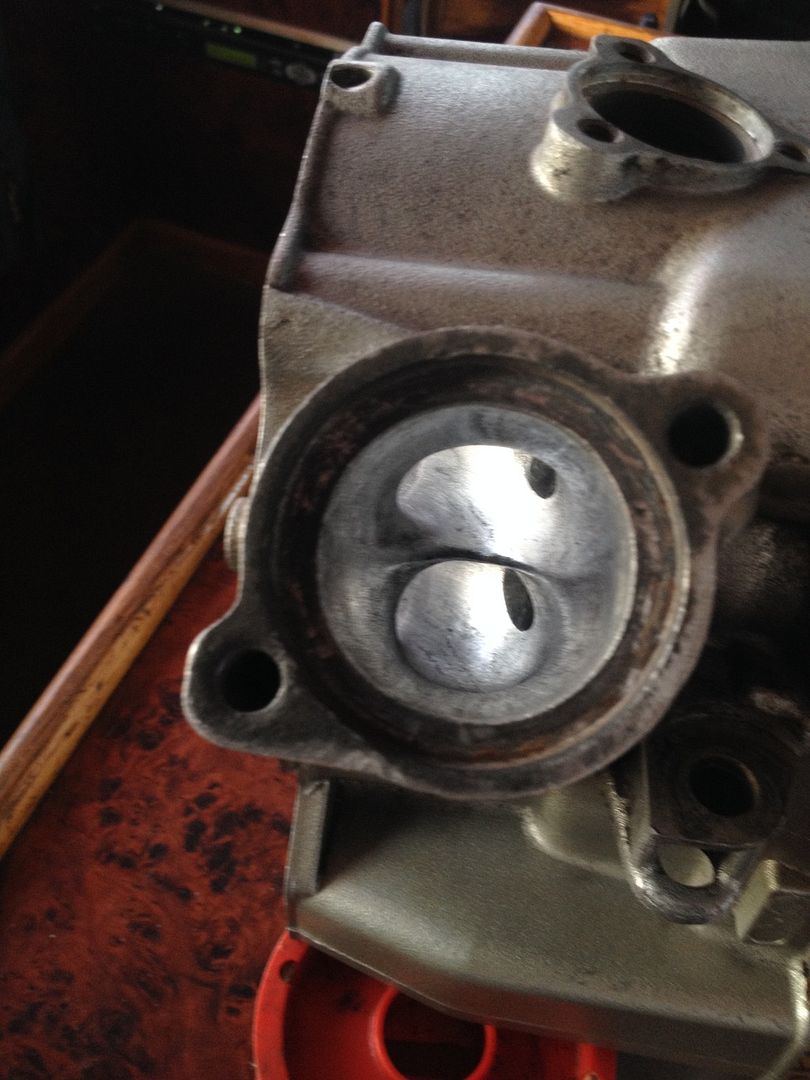
I didn't really count how many hours it took to get it as clean as this but my fingers were some sore and I luckily found a new toothbrush so I used my old one for the harder to reach bits.
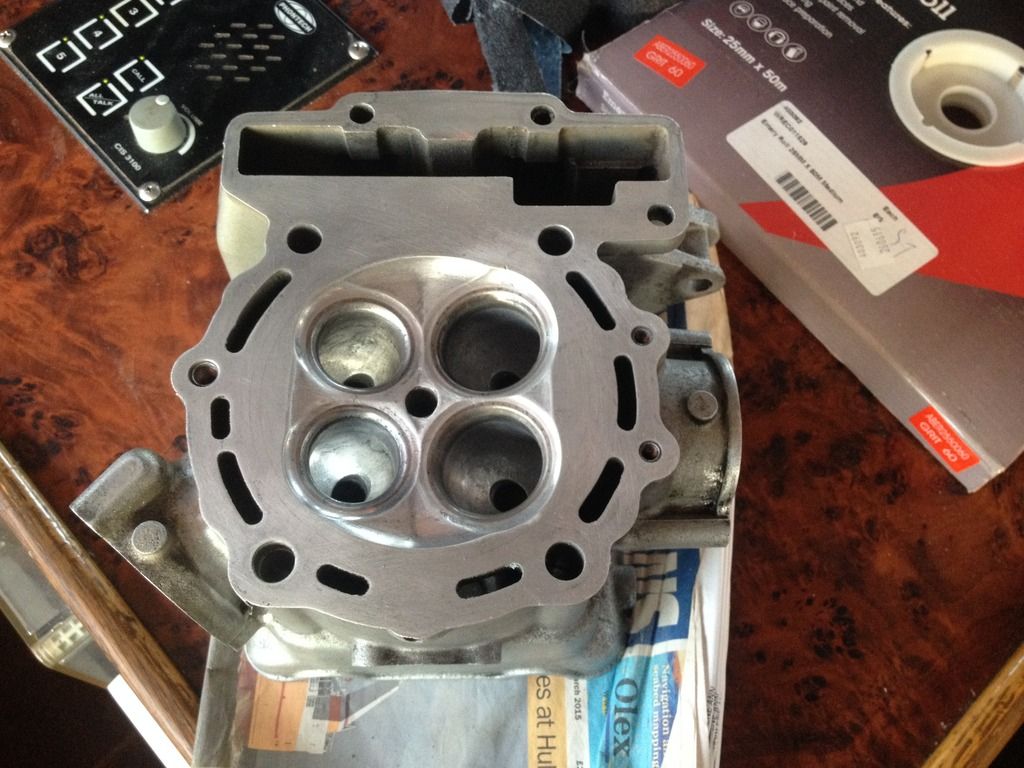
It's come nice and clean now, I would like to think the volumetric efficiency would be better by this work but I think only a very small amount. If you look very closely at the bridge between the exhaust valves you will see a small crack, it is actually on all the heads I have, it must be a design flaw, the alloy between the valve seats seems to lift and crack. I sanded the bridge down to try to eliminate the possibility of it becoming a hot spot where detonation could come from. One way to get away from this would be to put bigger valve seats in to eliminate the alloy of the bridge, could be a direction to go in, in the future. There was some casting and machining steps I have smoothed out, so all that will help but I think it will give a good indication of the merits of the bigger valves. And of course it will be run on the dyno before and after.