BUILDING A STREET LEGAL KX500 SUPERMOTO

Bike Builds and rebuilds. Post pics and discuss your projects.
User avatar
Sandblaster
Posts: 6320
Joined: Thu Jun 07, 2012 3:50 pm
Location: Eugene, OR
Contact:

Re: BUILDING A STREET LEGAL KX500 SUPERMOTO

Post by Sandblaster »

Nothing is worse then trying to remove your air box only to have the steel threaded insert break off the plastic box.
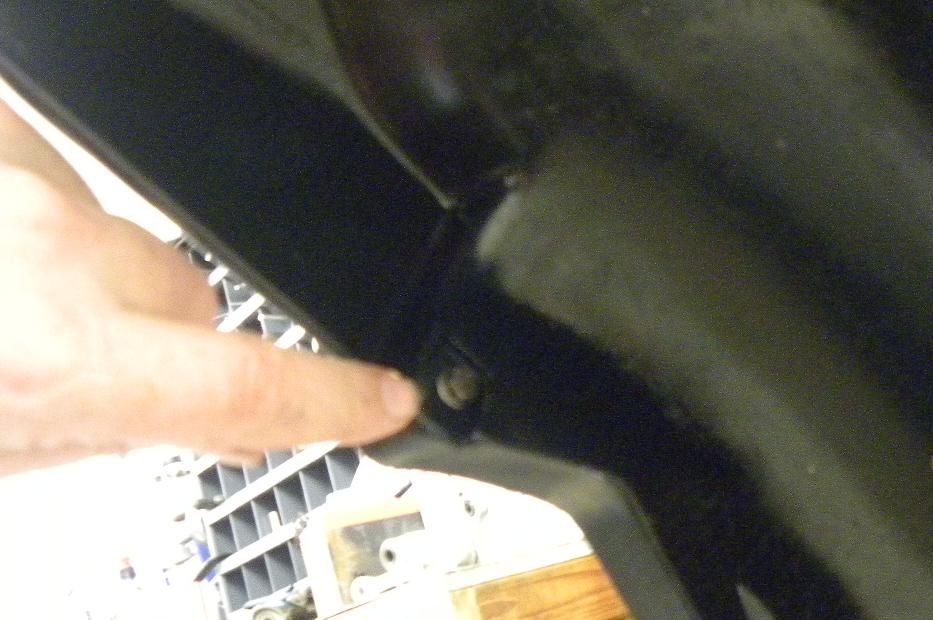
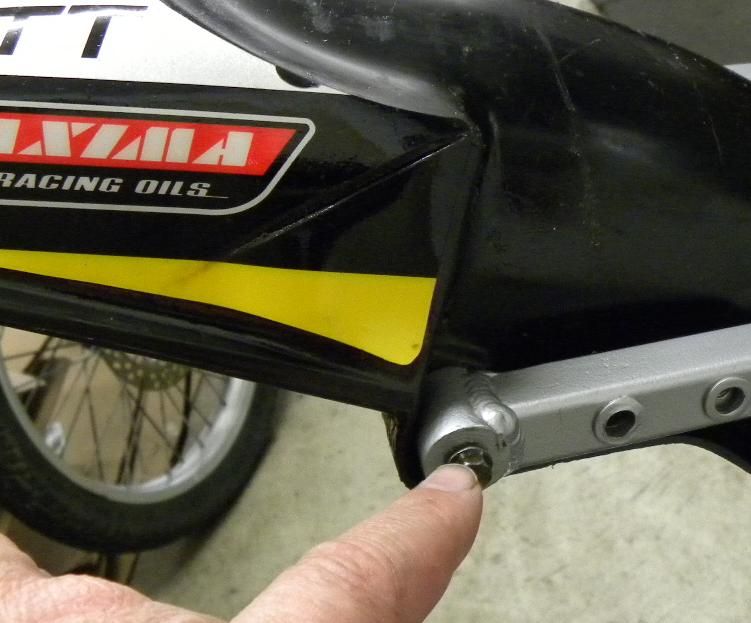
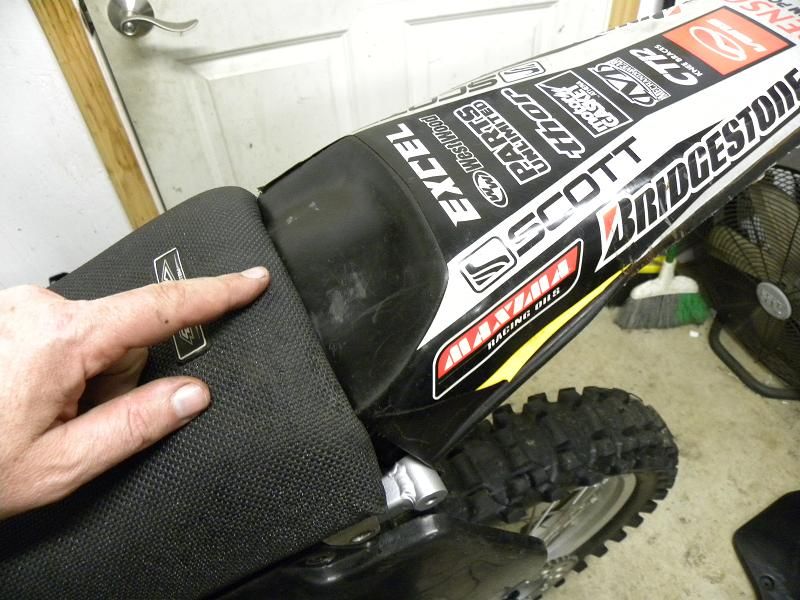
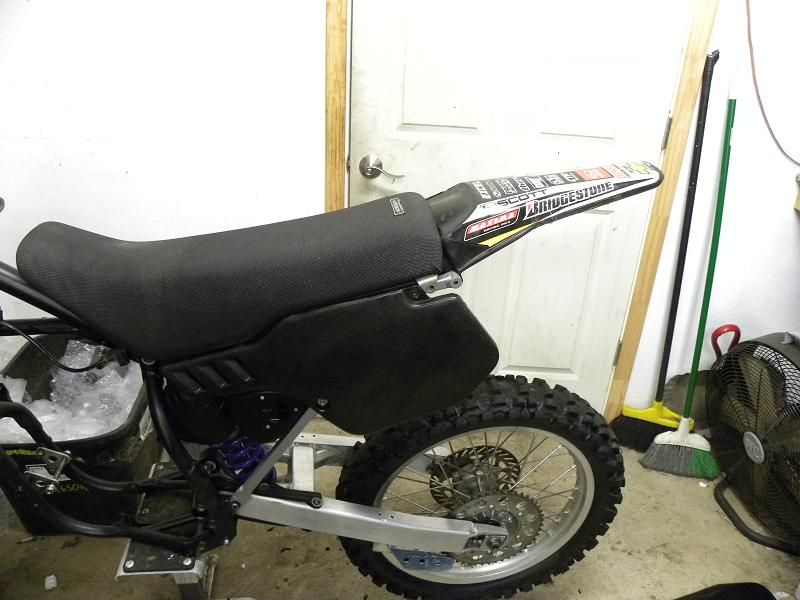
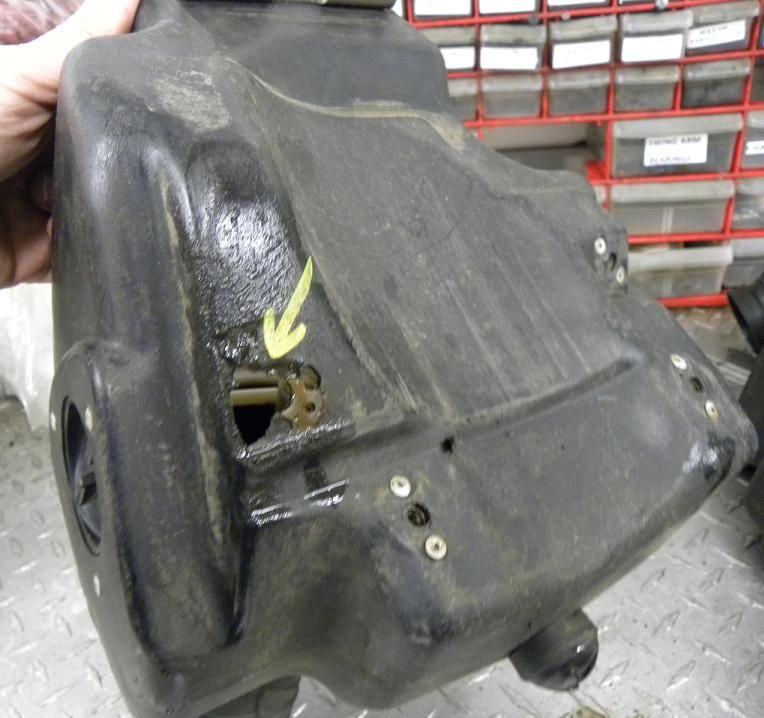
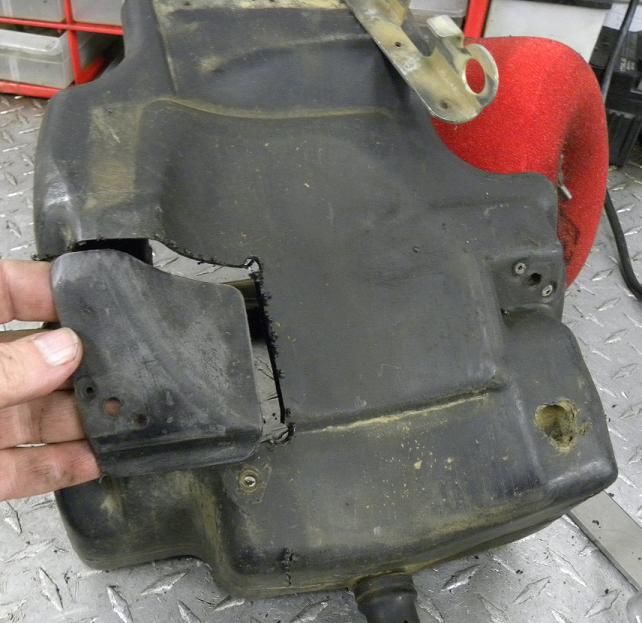
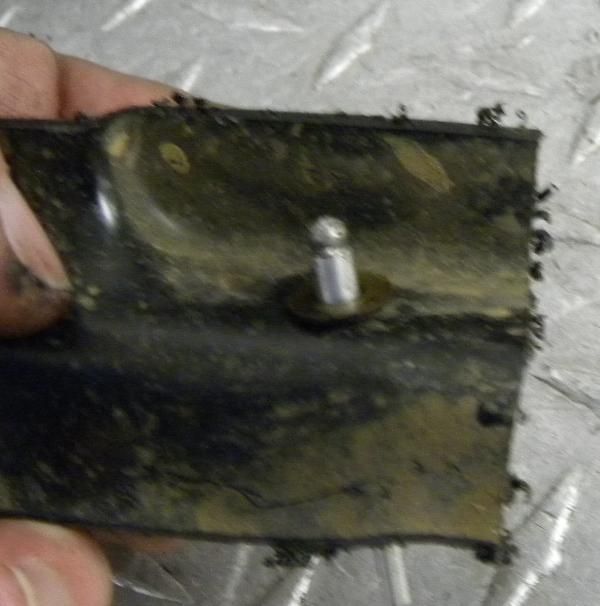
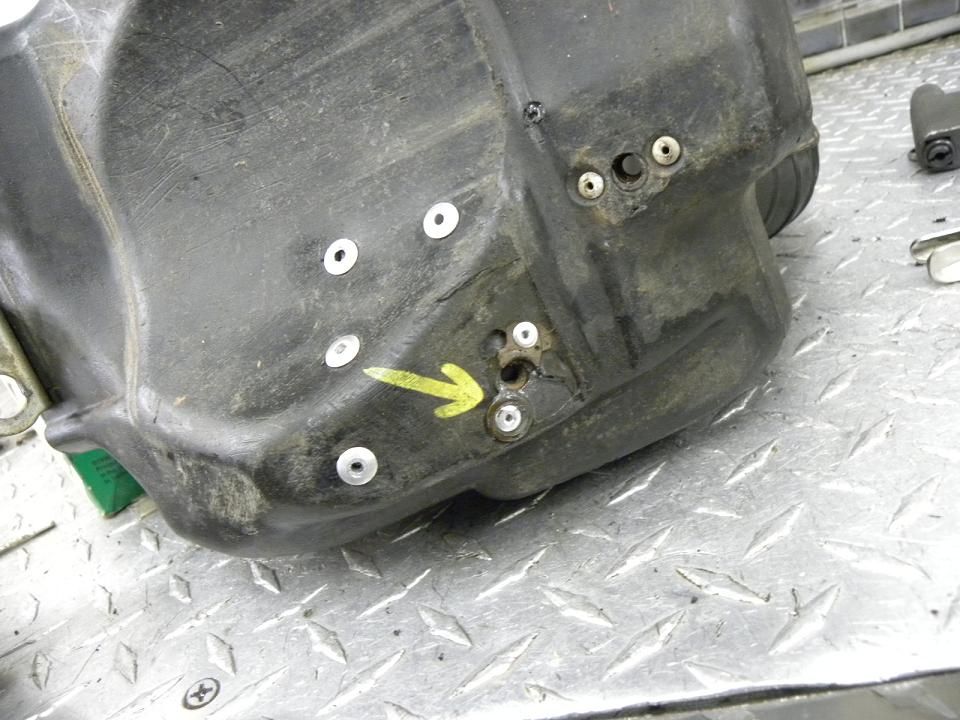
In my case, my 01 KX500 air box had one of the metal threaded inserts completely gone :cry:
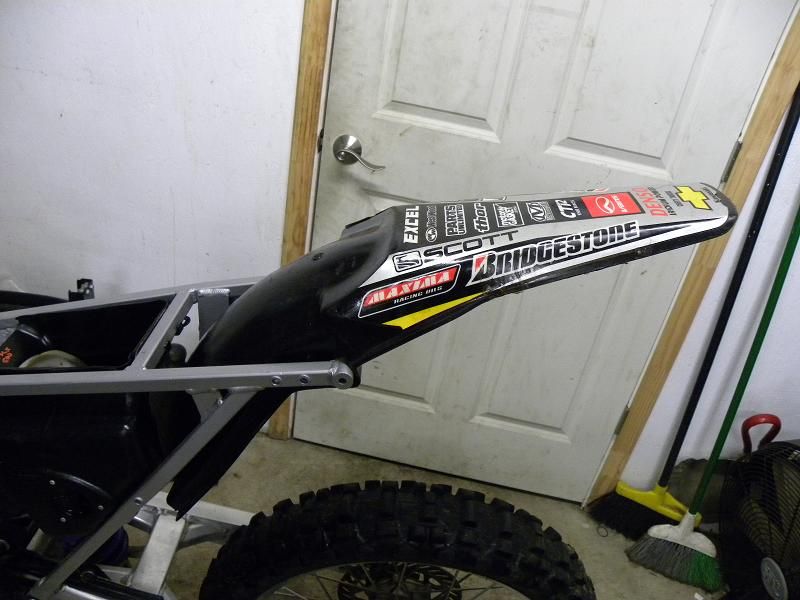
The air box is P/N 11011-1304 and fits 89-04 KX500, 89 KX125 KX250.
The retail price as of 11-2-12 is 105.75 USD without any of the attachments.
So, I would much rather repair it if I can do a good job.
Here is the broken insert:

Image

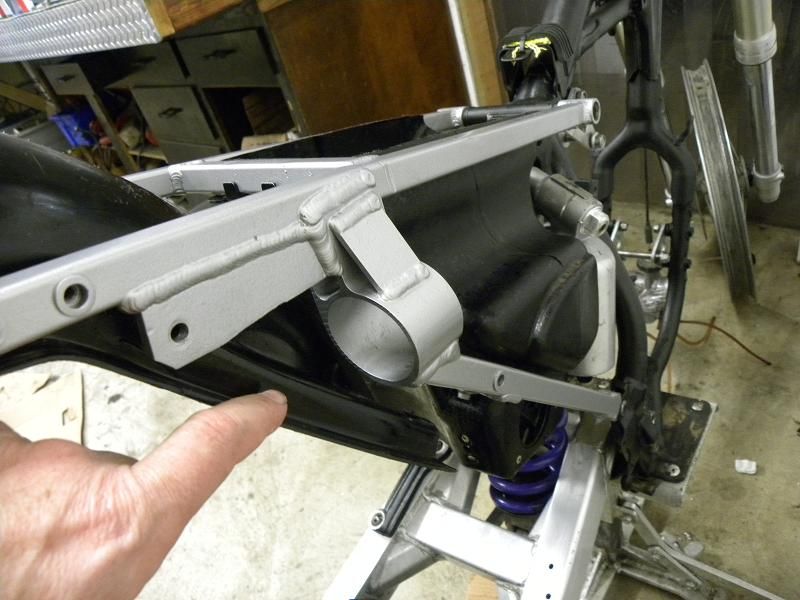
I rummaged around in my warehouse and every air box that I found was damaged to one extent or another.
Go figure, a 500cc 2 stroke throwing huge rocks, sand, and gravel at the air box for the last 12 years :shock:
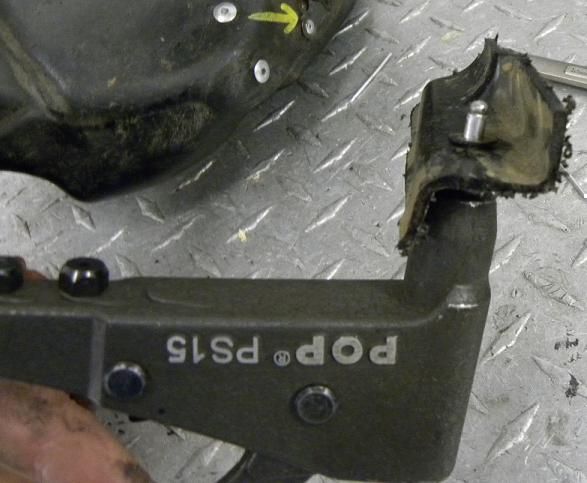
So, I took another air box and cut a section out of it to repair the area on mine that was damaged.
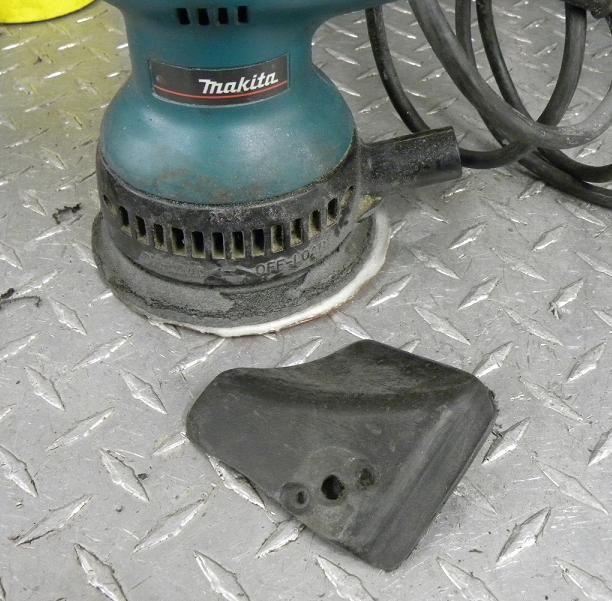
I drilled two holes and then used my jig saw to cut out the section that I wanted to use.
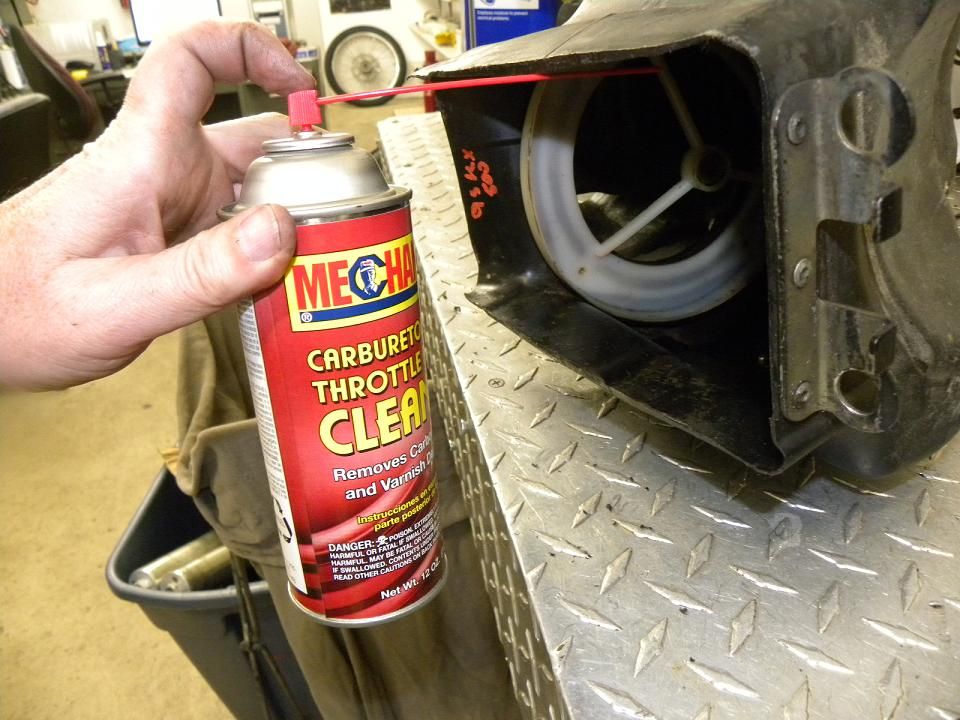
I removed the insert by drilling the heads off the pop rivets.
DO NOT drill all the way through the rivet.
Drill just deep enough to remove the head and then push the rest of the rivet through to remove it completely.
If you don't have an extra air box laying around you can always get some high density plastic and follow the same procedure other then you will have to drill some extra holes.

Image

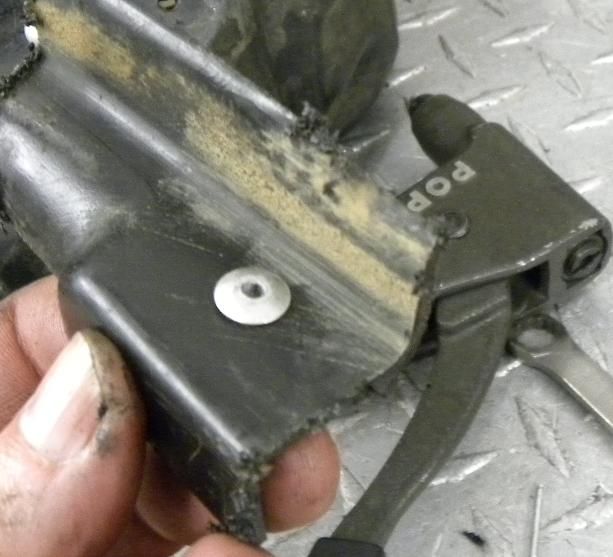
I then sanded all the edges to remove the rough spots and I sanded all the surfaces that would be bonding to the air box.

Image

CLEAN, CLEAN, CLEAN! At this point, why not? You won't have a better opportunity then this.

Image

I really want to be sure that the patch piece and the box have a good opportunity to bond.

Image

Clean some more! Get it clean.
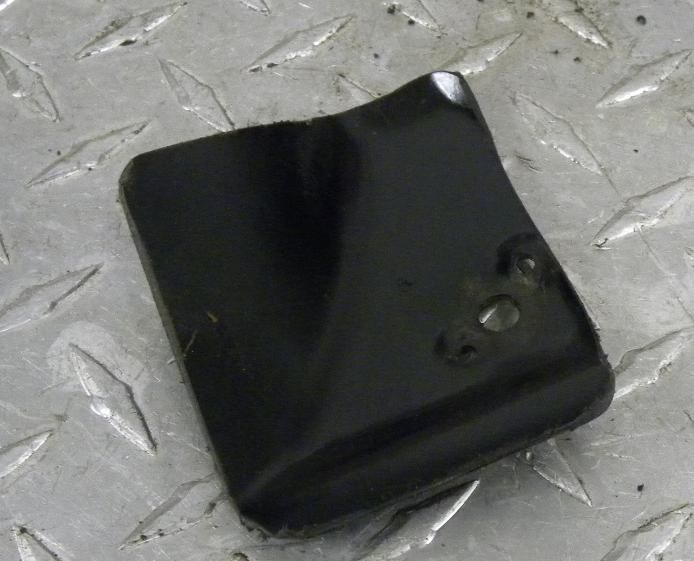
The final patch piece is checked for fitment and then cleaned again.

Image

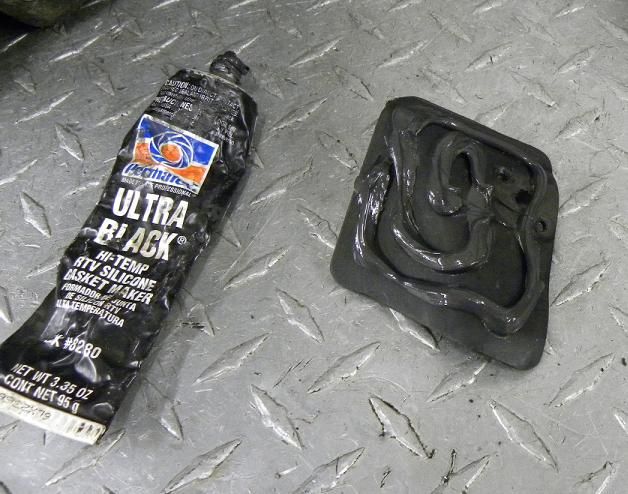
Next apply a heavy amount of Permatex Ultra Black Hi-Temp RTV Silicone and gasket maker.

Image

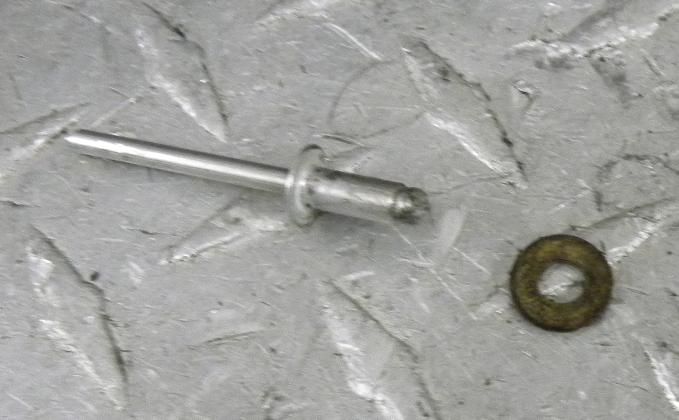
Here's a note on Rivets.
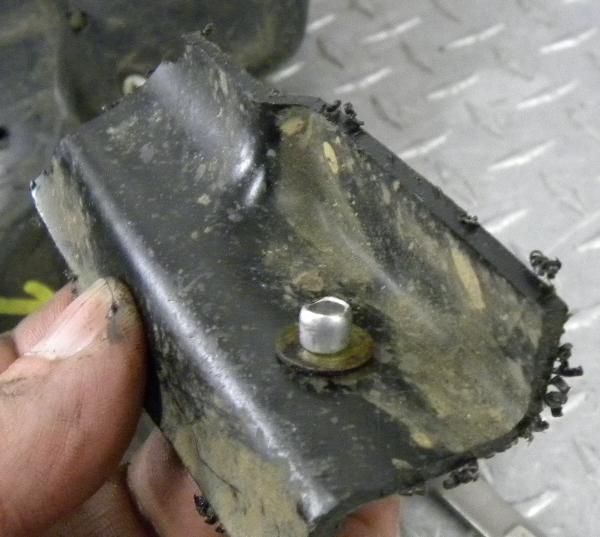
When riveting plastic I always use a washer to give a wide displacement of pressure on the inside area.
This will help prevent the rivet from pulling through again.

Image

Push the rivet through the hole.

Image

Image

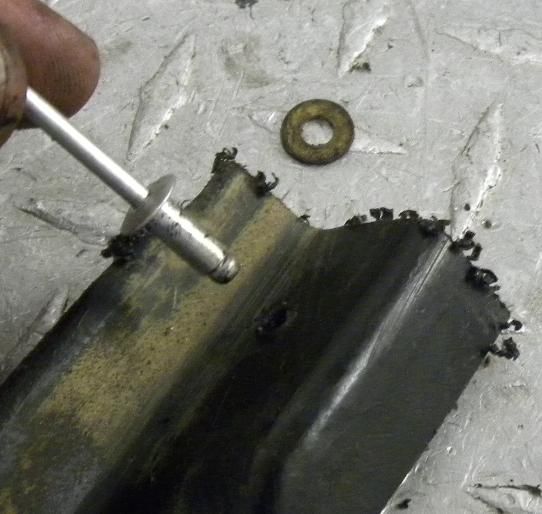
Now, place a washer on the other side of the rivet.

Image

Image

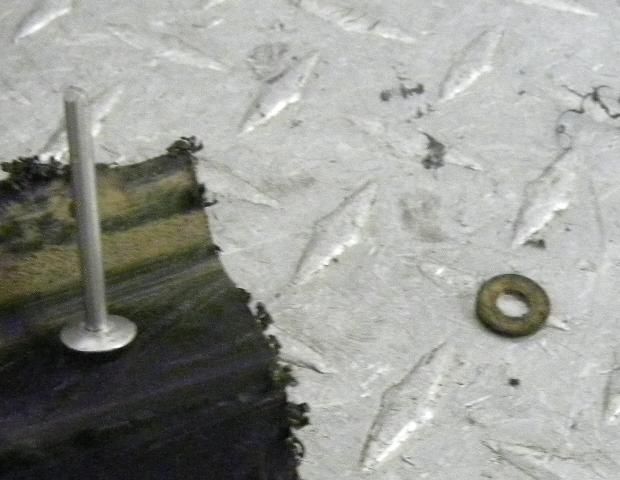
Attach the rivet gun and squeeze until the rod breaks off in the rivet gun.

Image

Image

Perfect!
Now, put as many rivets in your you patch piece as required to hold it firmly in place.

Image

Image

Let the Permatex dry overnight.
Then CLEAN IT SOME MORE!

Image

Image

Image
If bikes are for kids I'll never grow up.
User avatar
Sandblaster
Posts: 6320
Joined: Thu Jun 07, 2012 3:50 pm
Location: Eugene, OR
Contact:

Re: BUILDING A STREET LEGAL KX500 SUPERMOTO

Post by Sandblaster »

Remember the stock KX500 droopy rear fender?
It looked ok back in 1989 but we are a couple of decades down the road :D

Image

One option is to get a newer rear fender and cut it up to fit.
So, which do you want to use?
I have used a 1992 KX250, 1998 KX250, and this is a 2005 KX250 rear fender.
These procedures work no matter which year of KX250 rear fender you use.

Image

Since this will not bolt right up you will need a few tools.
I used a bench grinder, hand grinder, drill, and a marker.
The first thing I do is remove the seat, exhaust, rear fender, and side covers.
Then I take the 2005 KX250 rear fender and attach it to the sub frame with these two bolts.

Image

And here:

Image

I leave the bolts loose so I can quickly remove the fender for cutting.
As you can see, the rear fender is just pivoting on those two bolts.

Image

Because of the exhaust clearance issues I like to start on the right side first.

Image

I take a marker, put it through the exhaust hole in the sub frame and simply mark the outline of the exhaust hole:

Image

A quick trip to the bench grinder, then remount with the two bolts and I use a hand grinder for touch up.

Image

So far I like what I see.

Image

Then I continue to mark area's that need to be removed, grind them, and touch them up until the fender fits as good as it can.
Last, I use some self taping screws to help the fender to the sub frame:

Image

Image

Unlike other fenders I have used, the 2005 KX250 rear fender has this area for the seat to ride up on.
So, what can you do to fix that?
You could put some stickers on it or in my case I will mount a tool bag back there :D

Image

Done.
Total mod time?
About an hour.
Now the back end looks a lot more modern.

Image
If bikes are for kids I'll never grow up.
User avatar
Sandblaster
Posts: 6320
Joined: Thu Jun 07, 2012 3:50 pm
Location: Eugene, OR
Contact:

Re: BUILDING A STREET LEGAL KX500 SUPERMOTO

Post by Sandblaster »

Today I installed the front fender and drilled the holes in it for the fairing pins.
I also discovered why you don't want to use a pre 96 K5 Swing arm with a newer K5....
The rear brake mount and caliper don't work!!!
So I had to find a newer swing arm, clean it up install new bearings and get it put back together..
Installed a rear brake with a SS hose and hydraulic switch for the rear brake.
For now I will stay with knobs and stock wheels.
I just want to get it on the road and see how I like it.
Once I decide if it will work for me then I'll get some better wheels and tires.
Here is where I finished up at for today:

Image

Image

Angry dog...

Image
If bikes are for kids I'll never grow up.
User avatar
Sandblaster
Posts: 6320
Joined: Thu Jun 07, 2012 3:50 pm
Location: Eugene, OR
Contact:

Re: BUILDING A STREET LEGAL KX500 SUPERMOTO

Post by Sandblaster »

Testing the wiring BEFORE I put it all together which is a good idea with my electrical abilities :shock:

Pencil point:
Image

Wide angle flood:
Image

Both:
Image

Command and control
The left red button Puts power to the rear brake light and all turn signals.
The right red button is for a small radiator fan.
The left toggle is for the flood beam.
The right toggle is for the pencil point beam.

Image

Angry snarl of wires...

Image

Making progress thanks to Alward25...
If bikes are for kids I'll never grow up.
User avatar
Sandblaster
Posts: 6320
Joined: Thu Jun 07, 2012 3:50 pm
Location: Eugene, OR
Contact:

Re: BUILDING A STREET LEGAL KX500 SUPERMOTO

Post by Sandblaster »

I have not found a specific fan to use but I have a few in a junk pile around here somewhere.... :-P
Anyway, I'm just getting it prepared just in case I decide to put one in later.
Perhaps a KLR250 fan....

Image

It might still be a bit too large to clear the shrouds, I haven't really checked it...
Even if it does fit I'll build a small deflector to keep it from sucking air around the fan shroud where it overhangs the radiator.

Hmmm, it might just barely fit:

Image

Image
If bikes are for kids I'll never grow up.
User avatar
Sandblaster
Posts: 6320
Joined: Thu Jun 07, 2012 3:50 pm
Location: Eugene, OR
Contact:

Re: BUILDING A STREET LEGAL KX500 SUPERMOTO

Post by Sandblaster »

I managed to get all the indicator lights wired to the switches...

Image
If bikes are for kids I'll never grow up.
User avatar
Sandblaster
Posts: 6320
Joined: Thu Jun 07, 2012 3:50 pm
Location: Eugene, OR
Contact:

Re: BUILDING A STREET LEGAL KX500 SUPERMOTO

Post by Sandblaster »

Just a quick update.
I've been sorting through the wiring.
I have the headlights, indicators, all switches, and turn signals all working even though I don't have any turn signals or rear brake light for the bike just yet.
Still sorting out the rear brake light.
The pressure switches are both working correctly so I know I'm close :-D
If bikes are for kids I'll never grow up.
User avatar
Sandblaster
Posts: 6320
Joined: Thu Jun 07, 2012 3:50 pm
Location: Eugene, OR
Contact:

Re: BUILDING A STREET LEGAL KX500 SUPERMOTO

Post by Sandblaster »

I thought I had the turn indicators wired correctly. NO!!!! :oops:
I took the harness apart again, found my mistake, and repaired it. :|
Now the turn indicators and turn signals light up correctly... :)
I'm glad I don't do this for a living... :geek:
If bikes are for kids I'll never grow up.
User avatar
Sandblaster
Posts: 6320
Joined: Thu Jun 07, 2012 3:50 pm
Location: Eugene, OR
Contact:

Re: BUILDING A STREET LEGAL KX500 SUPERMOTO

Post by Sandblaster »

I went down to my favorite bike shop (Next to my own) http://www.procycle.us/
I picked up a rear brake light, marker light, license plate holder, and LED turn signals.
Here's what it looks like installed on the bike:
DSCN7177.jpg
DSCN7177.jpg (76.5 KiB) Viewed 15521 times
I wired it all up and here is the results.
Running light:
DSCN7178.jpg
DSCN7178.jpg (79.24 KiB) Viewed 15521 times
Brake light actuated by the front brake lever and the Rear brake lever via hydraulic pressure switches:
DSCN7181.jpg
DSCN7181.jpg (70.9 KiB) Viewed 15521 times
Left turn signal:
DSCN7184.jpg
DSCN7184.jpg (89.02 KiB) Viewed 15521 times
Right turn signal:
DSCN7183.jpg
DSCN7183.jpg (71.97 KiB) Viewed 15521 times
These turn signals are very flexible which should come in handy with the way I ride :-)
DSCN7179.jpg
DSCN7179.jpg (78.47 KiB) Viewed 15521 times
DSCN7180.jpg
DSCN7180.jpg (75.77 KiB) Viewed 15521 times
Now I need to get the correct battery, make a box, and mount it in the air box.

More to come so stay tuned :-)
If bikes are for kids I'll never grow up.
User avatar
Sandblaster
Posts: 6320
Joined: Thu Jun 07, 2012 3:50 pm
Location: Eugene, OR
Contact:

Re: BUILDING A STREET LEGAL KX500 SUPERMOTO

Post by Sandblaster »

Testing the battery fitment.
Looks like I got lucky :D
It is a Shorai Lithium Iron battery, 12Volts, 60 w/Hr, a/Hr 14, CCA 210, weight .663 Kg, 1.46lb, MAx charge rate 14A, P/N LFX14A2-BS12
I wanted a little smaller battery but this will do nicely and fits better then I could have hoped for.
Note: this battery is just sitting in the box.
I will still need to build some mounts to hold it firmly in place.
2001 kx500 supermoto battery.JPG
2001 kx500 supermoto battery.JPG (30.81 KiB) Viewed 14582 times
If bikes are for kids I'll never grow up.
Post Reply

Return to “Bike Builds and rebuilds”